Objective 2.3: Create and Modify Custom Workbook Elements (δείγμα)
- 2.3.1. Create and modify cell styles
- 2.3.2. Create custom themes and theme elements
- 2.3.3. Create and modify simple macros
- 2.3.4. Insert and configure form controls
2.3: Practice & Exam Tasks
The practice files for these tasks are located in the Objective 2-3 practice file folder. The folder also contains result files that you can use to check your work.
Practice Tasks
|
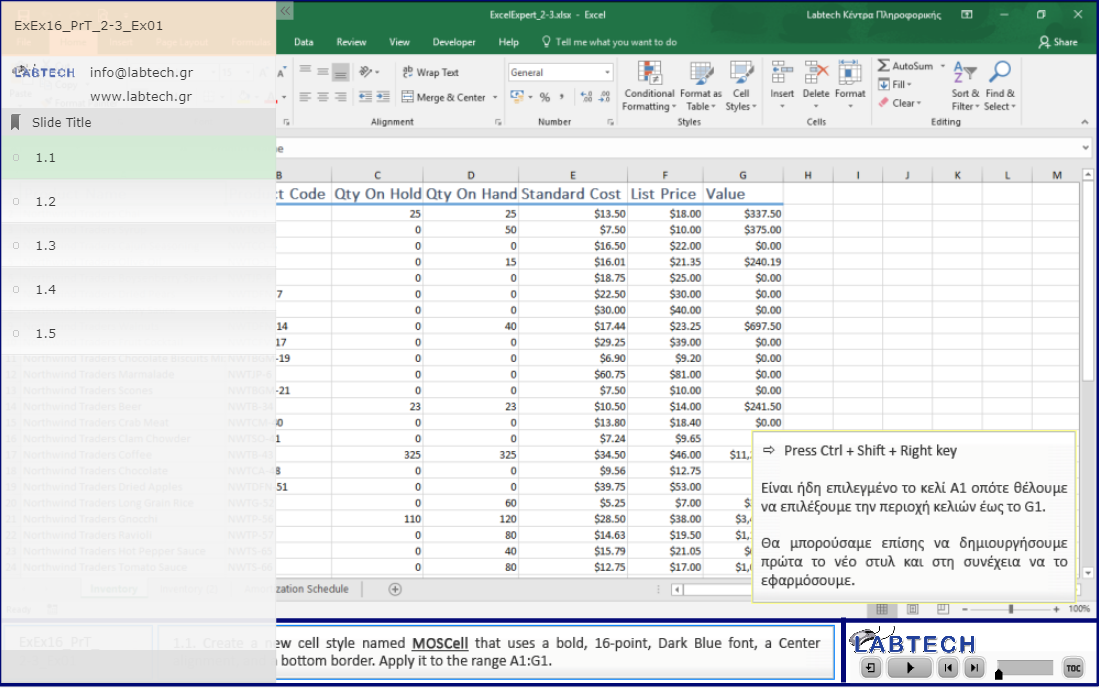
1. Open the ExcelExpert_2-3 workbook, display the Inventory worksheet, and do the following: 1.1. Create a new cell style named MOSCell that uses a bold, 16-point, Dark Blue font, a Center alignment, and a bottom border. Apply it to the range A1:G1. 1.2. Create a custom color scheme named MOSColors and apply it to the workbook. 1.3. Create a custom font set named MOSFonts and apply it to the workbook. 1.4. Save the custom theme as MOSTheme. 1.5. Verify that your custom theme now appears in the Themes gallery. |
|
|
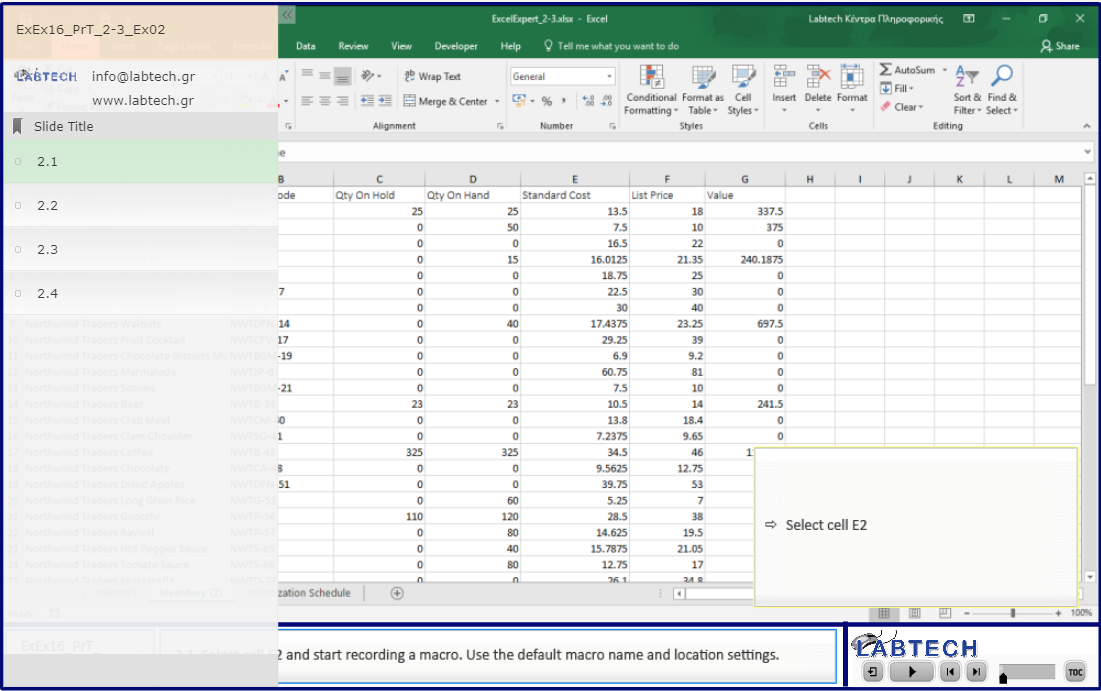
2. Display the Inventory (2) worksheet and do the following: 2.1. Select cell E2 and start recording a macro. Use the default macro name and location settings. 2.2. Perform the following actions:
2.3. Stop the recording. 2.4. Select cell F2 and run the macro you just recorded. |
|
|
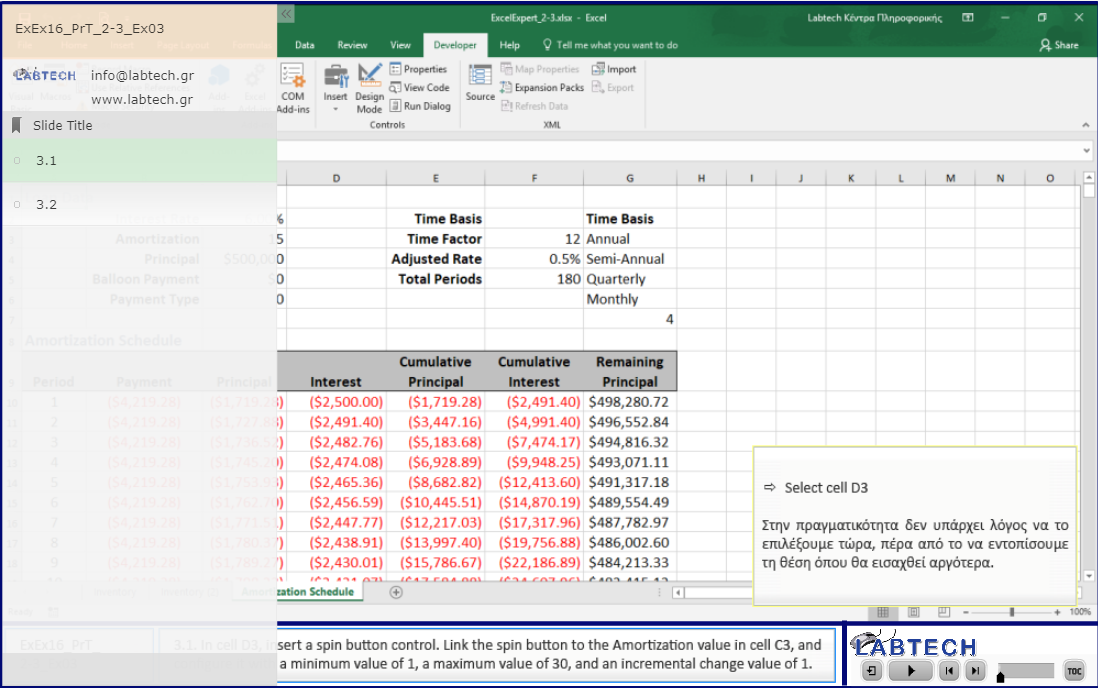
3. Display the Amortization Schedule worksheet and do the following: 3.1. In cell D3, insert a spin button control. Link the spin button to the Amortization value in cell C3, and configure it with a minimum value of 1, a maximum value of 30, and an incremental change value of 1. 3.2. In cell F2, insert a combo box control. Link the combo box to cell G7, and configure it to display the items in cells G3:G6. |
|
|
4. Save the ExcelExpert_2-3 workbook as a macro-enabled workbook (ExcelExpert_2-3.xlsm). 5. Open the ExcelExpert_2-3_results.xlsm macro workbook. Compare the two workbooks to check your work, and then close the open workbooks. |
Exam Tasks
Θα χρειαστείτε το αρχείο ExcelExpert_ExPr_2-3.xlsx για να ολοκληρώσετε τις παρακάτω ασκήσεις:
| ExEx16_ExT_2-3-1_Εx01 | Modify the "MyCellStyle1" style by adding an Οrange double bottom border. |
| ExEx16_ExT_2-3-2_Εx01 | Create new customized colors with the Accent 1 option to RGB "100 ","150", "255". Name the customized colors "Blue Table".
|
| ExEx16_ExT_2-3-2_Εx02 | Change the theme colors to Violet II and save the theme as "MyTheme" to the default location. |
| ExEx16_ExT_2-3-4_Εx01 | On the "Customers" worksheet, link a Combo Box control to Cell B1. It should display the country names in column A of the "Countries" worksheet.
|
Ελέγξτε τα αποτελέσματα των ενεργειών σας χρησιμοποιώντας το αρχείο ExcelExpert_ExPr_2-3_Results.xlsx.


