Objective 1.1: Manage Documents And Templates
- 1.1.1 Modify existing templates.
- 1.1.2 Copy custom styles, macros, and building blocks to other documents or templates.
- 1.1.3 Manage document versions.
- 1.1.4 Compare and combine multiple documents.
- 1.1.5 Link to external document content.
- 1.1.6 Enable macros in a document.
- 1.1.7 Change default program settings
- 1.1.7a Display hidden ribbon tabs.
- 1.1.7b Change the application default font.
The files for these tasks are located in the Objective 1-1 practice file folder. The folder also contains result files that you can use to check your work.
Practice Tasks
|
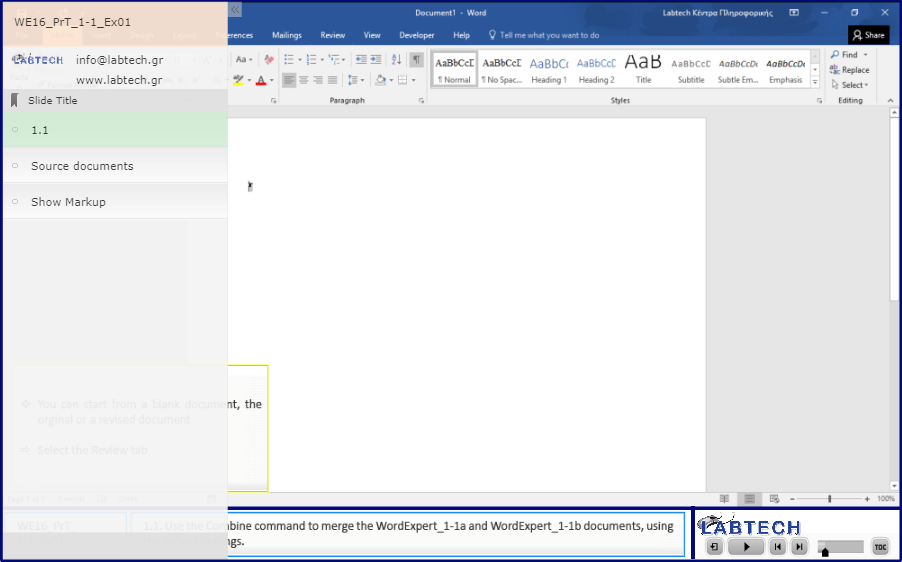
1. Start Word and do the following: 1.1. Use the Combine command to merge the WordExpert_1-1a and WordExpert_1-1b documents, using the default settings. 1.2. Save the document in the practice file folder as WordExpert_1-1_combined. 1.3. Open the WordExpert_1-1a_results document. Compare the two documents to check your work. Then close the documents.
|
|
|
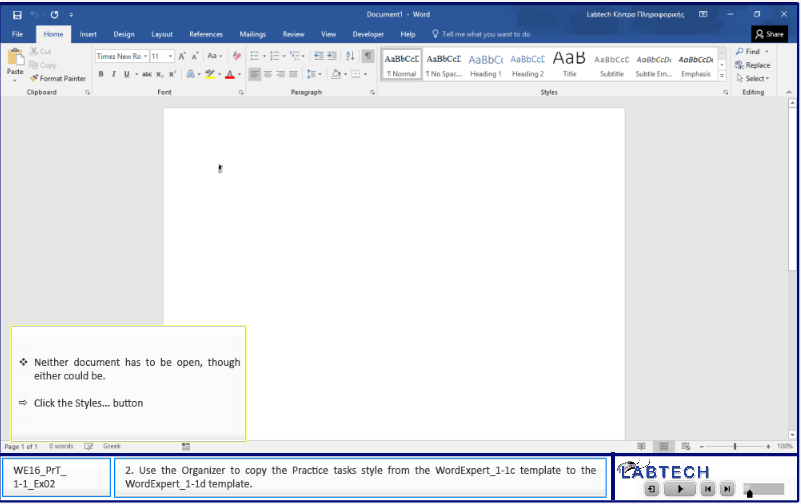
2. Use the Organizer to copy the Practice tasks style from the WordExpert_1-1c template to the WordExpert_1-1d template. 2.1. Open the WordExpert_1-1b_results file, and then open the Styles pane and compare the style list to the style list in the WordExpert_1-1d file.
|
|
|
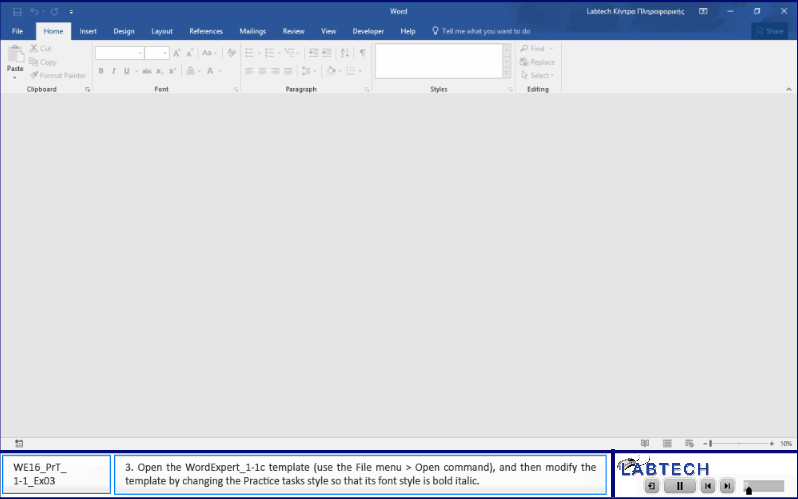
3. Open the WordExpert_1-1c template (use the File menu > Open command), and then modify the template by changing the Practice tasks style so that its font style is bold italic. 3.1. Open the WordExpert_1-1c_results file, open the Styles pane, and then view the modified style. |
|
|
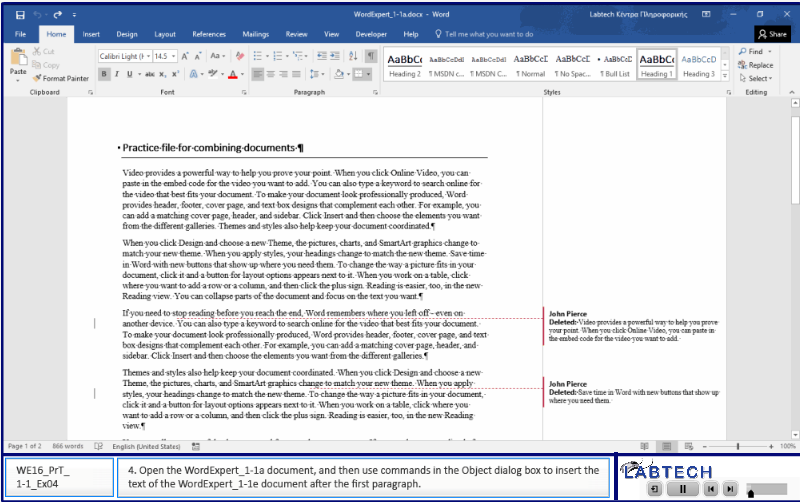
4. Open the WordExpert_1-1a document, and then use commands in the Object dialog box to insert the text of the WordExpert_1-1e document after the first paragraph.
|
|
|
5. Save the WordExpert_1-1a document. 6. Open the WordExpert_1-1d_results document. Compare the two documents to check your work. Then close all open documents. |
See Also: For more information about creating and modifying styles, see “Objective 2.2: Create styles.”
Exam Tasks
|
Copy the Normal style from Normal.dotm into Objective_1-1a.docx. Overwrite the existing Normal style.
|
|
|
Use Objective_1-1a.docx to do the folowing:
|
|
|
Use Objective_1-1a.docx to do the folowing:
|
|
|
Use Objective_1-1a.docx to do the folowing:
Notes:
|
|
|
Use Objective_1-1a.docx to do the folowing:
Notes:
|
|
|
Use Objective_1-1a.docx to do the folowing:
Note: παίζει μεγάλο ρόλο σε ποιο σημείο βρίσκεται ο κέρσορας την ώρα που ανοίγετε το π.δ. Fonts - καθώς το τρέχον στυλ θα χρησιμοποιηθεί ως "βάση" για το προεπιλεγμένο. Για τις εξετάσεις, φροντίστε να μην κάνετε κλικ σε άλλο σημείο από αυτό στο οποίο εκκινεί η άσκηση. |


